OSOK #10
There has been some discussion as to how to camouflage a gun. The short answer is that you do it the same way you cover yourself. Start with the color, then break up the outline. Finnish of with blending it in with the terrain you’ll be playing in. In preparation for a game, I recently camouflaged my gun, so I took pictures to post and help anyone who might need ideas, so here they are.
Step One: Clean the gun well using a solvent that is safe for your gun. Rubbing alcohol works well to dissolve and remove paint residue from aluminum
.
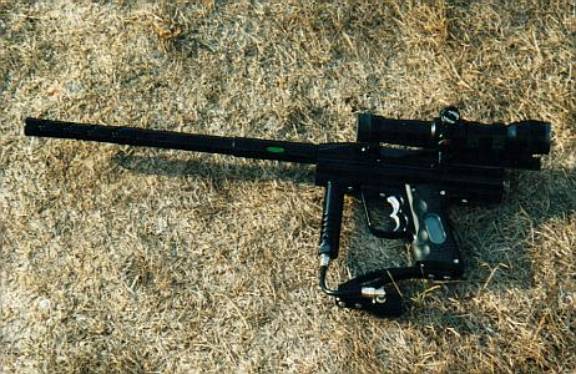
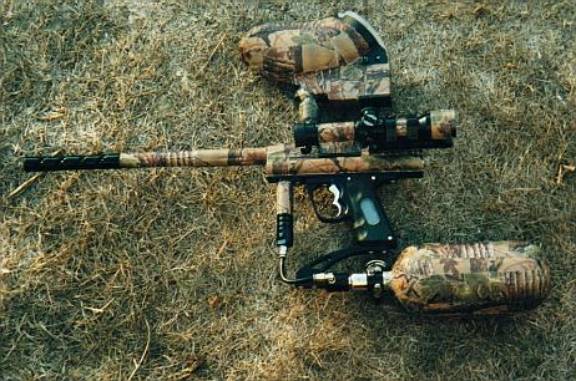
Step Two: Cover the gun with camouflage tape that you can buy from sporting goods stores. This will reduce the shine and blend it in with the background. Black markers are a good start, but black tends to look like an un-natural blob. We want to look natural and blend in. If you’re going to use tape, it is easy to repair, and remove. You can change it at will and it’s not permanent. It also protects your investment from scratches and damage. Make sure all the moving parts are free to move and are not restricted
.
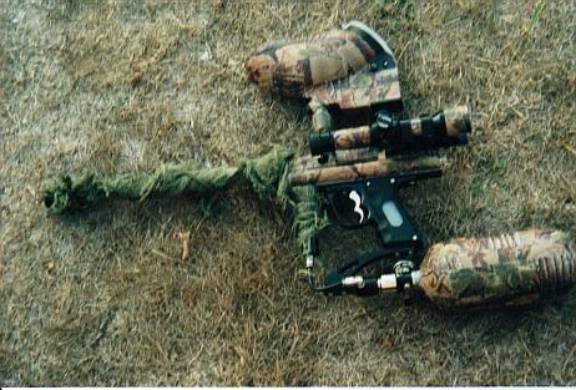
Step Three: Break up the outline of the barrel and major parts. There are no perfectly straight lines in nature, so a strip of burlap or other material will help break up the outline.
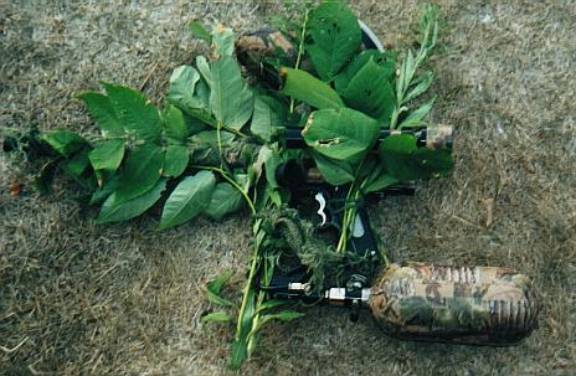
Step Four: This one’s optional. Use the burlap covering or cord to tie bits of foliage to the gun to blend it in to the background. That way it will blend into the background. Keep the sight line free so you can still aim properly. Again, if your gun has external moving parts, keep them free. The foliage you use will have to be replaced as the day goes on because it will wilt. Change it as the vegetation you’re crawling through or your gun will not blend in ad effectively.
The basics off camouflage and concealment can be applied to anything. The only limiting factor is your imagination. I hope this helps as a guide for anyone who needs inspiration. Play safe folks.